
Since 2010, thousands of course creators have chosen Facebook Groups as the platform to host online communities for their students.
The rationale makes perfect sense, because Facebook Groups check off tons of boxes: it’s free, hosted on a familiar brand, and offers the chance for real-time interaction, peer support, and community engagement among course participants.
And since Facebook has over three billion monthly active users as of January 2024 (🤯), it’s quite likely that students already have a Facebook account, so starting a group on that platform is a no-brainer.
However, there may come a time when a course creator might consider deleting their Facebook Group.
This could be due to a variety of reasons, like decreased engagement, moderation issues, a shift in business strategy, or the desire to move to a different platform.
So in this guide, we'll explore the steps to delete a Facebook Group, examine the reasons why you might consider doing so, and discuss alternative options for managing online communities. Let’s dig in!
Reasons course creators might consider deleting a Facebook Group
As we touched on before, there may be several reasons why you might want to delete your Facebook Group.
Maybe engagement within the Facebook Group is down, and your posts are echoing into the void. Perhaps your course strategy has shifted, and the Facebook Group no longer aligns with your goals.
Or maybe a greener pasture is calling your name, and you’ve spotted another platform that offers features that better align with the needs of your community.
Whatever the reason, for many course creators, the decision to delete a Facebook Group is not made lightly. Before you hit that delete button, consider a few of these factors:
- Community impact: Understand how deleting the group will affect your students; will it remove a vital support network for them?
- Content preservation: Consider downloading or archiving important content shared within the group to make sure no valuable information is lost.
- Member notification: It's imperative to inform your group members about the decision well in advance, providing clear reasons and outlining next steps.
- Alternatives to deletion: Sometimes, archiving the group or repurposing it for different content can be a better choice than outright deletion.
- Legal and ethical considerations: Make sure that deleting the group complies with any legal requirements and ethical standards, particularly concerning data privacy and user communication.
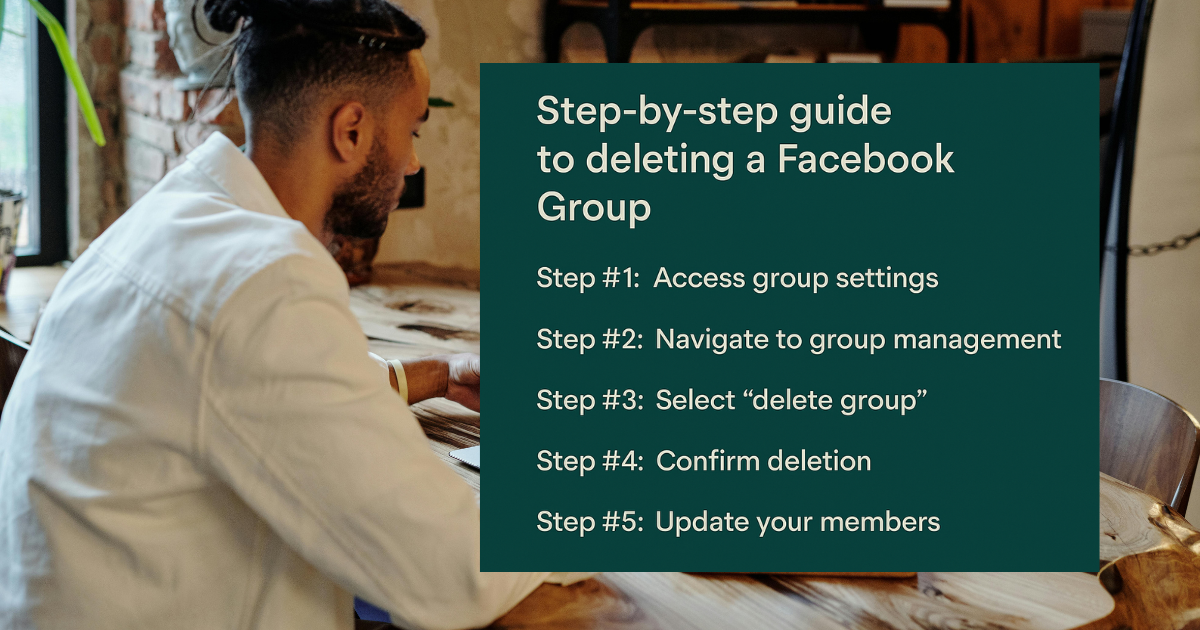
Step-by-step guide to deleting a Facebook Group
Okay, so if you’re ready to delete your Facebook Group, pulling the plug is relatively straightforward. Follow these steps to get it done without a hitch.
Step #1: Access group settings
Log into Facebook, navigate to your Facebook Group, and access the settings.
Step #2: Navigate to group management
Find the option for managing or editing the group
Step #3: Select “delete group”
You may need to ensure that all members are removed before this option becomes available.
Step #4: Confirm deletion
Once all members are removed, you can confirm the deletion of the group.
Step #5: Update your members
Your members were already informed that the Facebook Group was planned to be deleted, but let them know that the deletion is complete and guide them to the alternative platform or group that you’ve set up for them.
What happens after you delete a Facebook Group
Let’s expand on that last point a little bit more, because once you delete the Facebook Group, it's gone for good. Like, "poof" and it’s vanished! 💨
So you’ll want to consider the aftermath. How will this affect your course students? Make sure you’ve got a backup plan in place where you can transition any valuable content or ongoing discussions that were happening. Members may feel disconnected temporarily, so be sure that you’ve provided viable alternatives.
It’s also a good time to reflect on what this change means for your digital strategy moving forward. Maybe it’s a fresh start, or maybe it’s a lesson in what not to do next time!
Alternatives to deleting your course's Facebook Group
Just remember that deleting isn’t your only option! You actually have the option to archive the Facebook Group, keeping all the content intact but stopping new activity.
Or why not repurpose the group to align with new goals? You could shift the focus or theme to re-energize engagement.
If you’re not interested in being the admin anymore, consider transferring ownership to a trusted member who could take over the community and keep its spirit alive.
If you’re not ready to delete your Facebook Group, these options can provide continuity for your members and possibly a better transition strategy.
{{trial-component="/blog-shortcodes/blog-cta"}}
Migrating your course community to a new platform
If you’ve made the decision to move your community to a different platform than Facebook Groups, the next step is to pick the right platform to move to.
Think about what didn’t work for you when you used Facebook Groups, and do some research to find platforms that have features that align better with your needs. Maybe you want more moderation tools specifically designed for course creators, or perhaps a platform that integrates better with how you deliver your course. Maybe you seek full integration, where students can find your course and the community for that course all in the same place.
Research the platforms that are available and consider features, engagement tools, and ease of use. When you find the right one, set up the new platform to create a welcoming and engaging new home for your community.
Related: How to build an online community
Integrating your course community with Teachable
Did you know that Teachable isn’t just for hosting courses? It’s true; Teachable is also a comprehensive community-building and membership platform. With features that help you seamlessly engage with the students in your course and contribute to their success, it’s a great option to consider if hosting your community on an external social media platform (or another platform that you have to pay for) is less appealing to you.
As a dedicated space for students in your Teachable school to share, discuss, and exchange experiences, our community experience includes:
- A dedicated space for you and students to foster connections
- The ability to categorize sections of your community into different topics
- Tools to moderate content within your community
- Analytics to monitor community health and engagement
And so much more! 😉 With our tools, you can create a learning environment that dovetails your course with your community with ease.
Related: Engaging your online course community with purpose
Best practices for course creators managing online communities
So now that you’ve found your ideal platform and got your community set up, it’s now time to manage it like a pro, to make sure that it’s a success and that your students are able to really learn and engage with the content and each other.
Here are a few best practices for managing online communities:
- Set clear expectations: Start strong by establishing clear guidelines and expectations for your community. These rules should cover acceptable behaviors, posting guidelines, and the types of interactions encouraged within the group. Having a well-defined set of rules helps prevent misunderstandings and makes sure that the community remains a positive space for all members.
- Create opportunities for engagement: Keep the conversation flowing; pose questions, initiate discussions, and create prompts that inspire thoughtful responses. Encourage your members to chat, ask questions, and share ideas with each other.
- Share content that provides value: Regularly share content that is exclusive to the community, like bonus materials, extra resources, behind-the-scenes insights, or advanced notice about upcoming courses or events. This special content makes members feel valued and keeps them engaged.
- Listen to community feedback: Pay attention to the feedback you get from your community, whether it’s praise, questions, or critiques. This feedback can help you improve your courses and content, inspire future offerings, and help you understand your audience better, so encourage members to share their experiences and suggestions.
- Recognize active members: Show some love to your most active participants. Acknowledge their contributions with shout-outs, featured posts, or however else you’d like to do it; a little recognition goes a long way in motivating everyone to get more involved.
- Use tools for management and automation: Take advantage of community management tools to make it easier to keep your group on track. Automation can help with scheduling posts, moderating discussions, and keeping an eye on engagement, freeing you up to focus on more creative aspects.
- Promote a culture of learning: Keep the learning vibe alive by regularly sharing educational tips, updates, and resources. This not only enhances the community experience but also keeps everyone informed, inspired, and eager to learn more.
- Monitor and moderate: Keep an eye on the community to ensure everything runs smoothly and remains positive and constructive. Step in when necessary to handle conflicts or toxic behaviors that undermine the community's value.
- Encourage peer-to-peer interaction: You community members can learn from each other, as well as from you. Set up group projects, discussion threads, or peer review sessions to create opportunities for collaborative learning and build a sense of camaraderie among members.
- Stay consistent: Keep your presence active and your communications regular to help keep the community active and prevent members from losing interest. Make sure that you yourself are present and visible in the community; as leader of the group, your involvement holds sway in overall engagement.
Give these best practices a try as you create your new online community!
Related: Running an online community: 7 key pillars to success
Leveraging your community for course success
A well-managed community can be a goldmine for insights and improvements:
Now that your new online community is up and thriving, make sure these three things are in place so the community provides value for your course as well:
- Feedback loop: Pay attention to community feedback, and incorporate insights from your students to continuously improve your course.
- Support networks: Get subject-matter support or community moderation help, so that students feel supported and get answers to their questions quickly.
- Testimonials: Ask your community members for their testimonials and success stories; share them inside the community to motivate others, or add them to your marketing materials.
Future trends in online course communities
Online course communities are set to evolve in exciting ways, thanks to technological innovation and changing learner demands. Here are three trends we’ve spotted that will influence online communities in the coming years:
Expansion of gamification
Gamification, which uses game design elements in non-game contexts, is proving really effective in increasing learner engagement. Future online communities might integrate more gamified elements like leaderboards, badges, role play, and challenges to motivate learners and make the learning process more fun and memorable.
Growth in mobile learning
Smartphones have changed everything, including the way that we learn. Future online course platforms are likely to be designed with a mobile-first approach, providing learning experiences that are accessible from anywhere at any time.
Increased personalization
Advancements in AI and machine learning are making it possible to make the learning experience more personalized. This means that course platforms can tailor content, recommendations, and interactions based on individual learner behaviors and preferences, enhancing engagement and effectiveness.
{{trial-component="/blog-shortcodes/blog-cta"}}
Create the online community of your dreams
So, there you have it! Deleting a Facebook Group is a significant decision that impacts your online course community; before taking this step, consider alternatives that might better serve the needs of your community. If deletion is indeed the best option, follow the steps we talked about in this guide to make the transition as smooth and successful as possible.
Remember, the goal is to create a community that students love participating in and that improves their learning experience, as well as contributes to the success of your course. You can definitely make that happen… and Teachable’s community features can definitely help! Check out our tools designed to help you build and manage an engaged online community that creates wins-wins for you and your students.
FAQs
1. What are the consequences of deleting my Facebook Group?
Deleting a Facebook Group is a permanent action. Once deleted, all content, including posts, comments, and member interactions, is irretrievably lost. Members will no longer have access to the group's resources or discussions. It's crucial to back up any valuable content before proceeding. Additionally, members won't receive automatic notifications about the deletion, so proactive communication is essential to inform them of the change and any alternative platforms or communities you plan to introduce.
2. Is it possible to delete a Facebook Group without removing all members first?
No, Facebook requires that all members be removed from the group before it can be deleted. Only after all members have been removed can the group creator (or an admin, if the creator has left) delete the group by leaving it themselves. This process ensures that the group is entirely empty before deletion.
3. What alternatives exist if I'm not ready to delete my Facebook Group?
If you're uncertain about permanently deleting your group, consider the following alternatives:
- Archiving the Group: This option preserves all content and member information but disables new posts and member additions. It's a reversible action, allowing you to reactivate the group later.
- Transferring Ownership: If you no longer wish to manage the group, you can assign another member as the admin, allowing the community to continue under new leadership.
- Pausing Group Activity: Temporarily halt group activities without deleting content or removing members. This can be useful during transitions or when re-evaluating the group's purpose.
These alternatives provide flexibility, ensuring that you don't lose valuable content or disrupt your community abruptly.
4. How can I successfully move my community off Facebook?
Moving your course community to a new platform is a strategic process, and its important to guide your members through it with clarity and confidence. Start by choosing a platform that better supports your goals.
Once you've chosen your new home, give your members plenty of notice. Let them know why you're making the switch and how the new space will benefit them. Set up onboarding materials, like a welcome message, tutorial videos, or a pinned post with FAQs. Keep things warm and inviting, and make it easy for them to start engaging right away. To maintain momentum, create early conversations, offer exclusive content, or run a small challenge to help members get used to the new space and feel at home.
5. What are the benefits of building my course community on Teachable?
Teachable gives course creators the power to manage everything - courses, coaching, and community - in one place. That means no juggling tabs or trying to duct-tape platforms together. Your students can move seamlessly from your lessons into discussions, ask questions, and share ideas without ever leaving your Teachable school.
You can organize conversations by topic, moderate posts to keep things on track, and use built-in tools to track how engaged your community really is. It's easier to keep the vibe aligned with your brand, and your students get a cohesive, distraction-free learning environment. Plus, since everything lives under your roof, you're not sending your community off to someone else's platform - you own the experience end-to-end.

Join more than 150,000 creators who use Teachable to make a real impact and earn a real income.